Introduction
Welcome to Part 5 of this homelab series! In the previous parts, we’ve built a Debian server, deployed a full suite of services with Docker, and set up a high-availability DNS network. But one critical piece is still missing: end-to-end security.
Until now, we’ve been accessing local services via http://grafana.local, which browsers correctly flag as “Not Secure.” The common solution is to open ports 80 and 443 on our router, but that exposes our server and home network to the entire internet—a huge security risk.
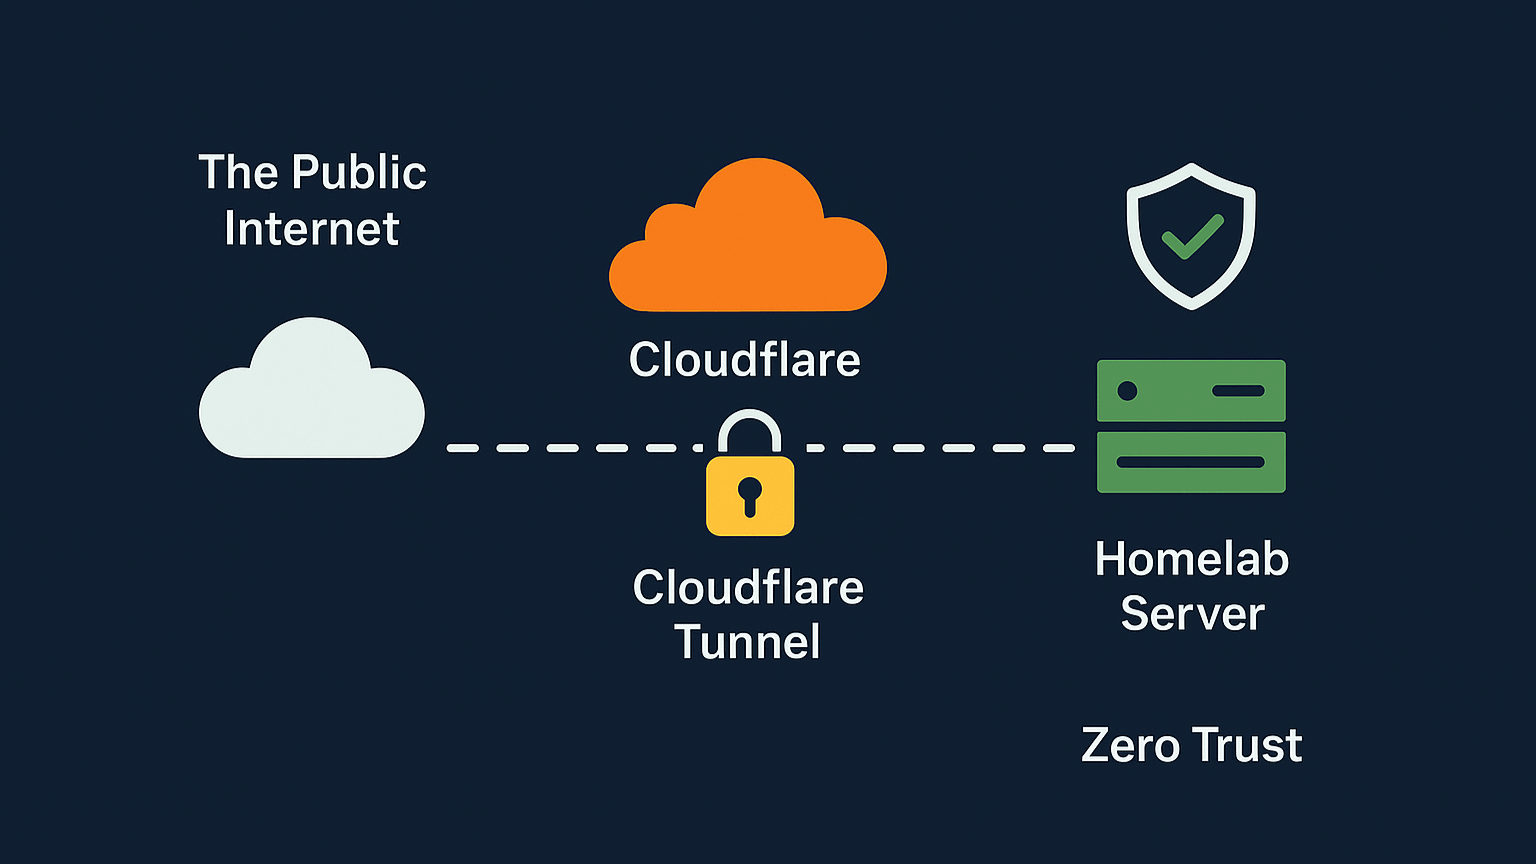
In this guide, we’ll walk through the ultimate solution: using a Cloudflare Tunnel and a public domain to get 100% free, valid HTTPS certificates for all internal services, all with zero open ports on the router. We’ll also lock everything down behind Cloudflare’s Zero Trust platform, so only authorized users can access them.
Chapter 1: The Domain Advantage
To make this work, a public domain (e.g., your-domain.com) is required.
A quick tip for Nepali citizens: You can register a
.com.npdomain for free for life, which is an incredible resource for projects like this.
The goal is to create secure, public-facing subdomains for our private services (like grafana.your-domain.com) without actually exposing our server.
Chapter 2: Setting Up the Cloudflare Tunnel
A Cloudflare Tunnel is a secure, outbound-only connection from a connector (a small piece of software) running on our server to the Cloudflare network. This means no inbound ports are needed.
Create a Zero Trust Account: First, log into the Cloudflare dashboard, go to the Zero Trust menu, and sign up for the free plan. You will be asked to choose a “team name” (e.g.,
my-lab), which creates a unique login URL for your account.Create the Tunnel: In the Zero Trust dashboard, navigate to Networks > Tunnels and click “Create a tunnel”.
Choose “Cloudflared” as the connector type and give the tunnel a name, like
homelab-debian.Get the Token: Cloudflare then presents options for installing the connector. Select Docker, which provides a
docker runcommand containing a unique, secret token.
Chapter 3: Deploying the cloudflared Connector
Instead of just running the docker run command, using docker-compose.yml is much better for long-term management.
- Create a new directory on the server:
mkdir -p ~/docker/cloudflared cd ~/docker/cloudflared nano docker-compose.yml - Paste in the following configuration, using the token from the Cloudflare dashboard. It’s critical to connect this container to the
npm_defaultnetwork created in Part 2.services: cloudflared: image: cloudflare/cloudflared:latest container_name: cloudflared-tunnel restart: unless-stopped command: tunnel --no-autoupdate run --token <YOUR_TOKEN_HERE> networks: - npm_default networks: npm_default: external: true - Launch the container:
docker compose up -d - Back in the Cloudflare dashboard, the “Connectors” section for the tunnel should now show a “Healthy” status.
Chapter 4: Routing Traffic - Cloudflare to NPM
Now, we need to tell the tunnel where to send incoming traffic. The goal is to send all traffic for our subdomains to one place: Nginx Proxy Manager (NPM).
- In the tunnel’s configuration, go to the “Published application routes” tab.
- Click “Add a published application routes” and create an entry for each of your services. For Grafana:
- Subdomain:
grafana - Domain:
your-domain.com - Service Type:
HTTP - URL:
http://npm-app-1:80(This is the container name and internal port for NPM)
- Subdomain:
- Click “Save” and repeat this for all other services (
homer,prometheus, etc.). This process automatically creates the public CNAME records in Cloudflare’s DNS panel.
Chapter 5: The “Split-Brain DNS” Setup
This setup ensures our new domains work perfectly both inside and outside our home network.
- Publicly (Away from Home): This is already done. When a device is on cellular data, it uses public DNS, finds the Cloudflare CNAME, and is securely sent through the tunnel.
- Locally (At Home): When at home, we don’t want traffic going out to the internet and back. We use AdGuard Home to create DNS rewrites.
- In the AdGuard Home dashboard, go to Filters > DNS Rewrites.
- Add a new rule:
- Domain:
grafana.your-domain.com - Answer:
192.168.1.100(The local IP of your NPM server)
- Domain:
- Repeat this for
homer.your-domain.com,prometheus.your-domain.com, etc.
Chapter 6: The “Split-Brain” SSL Fix (Local & Public)
This setup will create two different SSL errors: ERR_SSL_UNRECOGNIZED_NAME_ALERT when at home, and ERR_TOO_MANY_REDIRECTS when on a public network.
Here is the step-by-step solution that fixes both problems permanently.
Step 1: Get a Cloudflare API Token
NPM needs a way to automatically prove to Cloudflare that it owns the domain.
- In the Cloudflare profile, go to API Tokens > Create Token.
- Use the “Edit zone DNS” template.
- Set Zone Resources to
Include>Specific zone>your-domain.com. - Click “Continue” and “Create Token”. Copy the generated token immediately.
Step 2: Configure NPM Proxy Host
- In the Nginx Proxy Manager admin panel, edit the proxy host for
grafana.your-domain.com. - On the Details Tab, make sure the Forward Hostname is
grafanaand the Forward Port is3000. - Go to the SSL Tab:
- For SSL Certificate, choose “Request a new SSL Certificate”.
- Toggle “Use a DNS Challenge” to ON.
- Click “Add a new credential”, select Cloudflare, and paste in your API token.
- CRITICALLY: Toggle “Force SSL” to OFF. This is what prevents the redirect loop.
- Click Save. NPM will now use the API token to get a valid Let’s Encrypt certificate.
Step 3: Configure Cloudflare SSL
- In the main Cloudflare dashboard, for your domain go to SSL/TLS > Overview.
- Set the SSL/TLS encryption mode to “Full (Strict)”.
This combination is the perfect solution:
- Locally: The browser connects directly to NPM (thanks to the AdGuard rewrite) and is served the valid Let’s Encrypt certificate, fixing the
ERR_SSL_UNRECOGNIZED_NAME_ALERT. - Publicly: Cloudflare enforces
HTTPS(Full Strict). The request goes to NPM, which (with “Force SSL” off) no longer tries to redirect, fixing theERR_TOO_MANY_REDIRECTSloop.
Chapter 7: The Final Layer - Cloudflare Access (Zero Trust)
Our services are now accessible, but they are public. This final step secures them.
- In the Cloudflare Zero Trust dashboard, go to Access > Applications and click “Add an application”.
- Choose “Self-hosted”.
- Add all the new public hostnames (
grafana.your-domain.com,homer.your-domain.com, etc.) to the “Public hostname” section. - On the next page, create one simple policy:
- Policy name:
Allow-Admin-Only - Action:
Allow - Rule:
Include,Emails,your-email@example.com
- Policy name:
- Click “Save application”.
Conclusion: From Bare Metal to a Secure, Global Homelab
And with that, we’ve placed the final and most important piece of our puzzle: professional-grade security.
Let’s step back and appreciate what we’ve built. On our home network, we have seamless, direct access to our services with valid SSL certificates. The moment we step outside our home, our lab becomes a secure fortress. Our services are completely invisible to the public internet, hidden behind Cloudflare’s robust Zero Trust authentication.
We have successfully achieved the gold standard of modern, secure infrastructure:
- Zero-Trust Access: Only authenticated users can even see our login pages.
- A “Closed-Port” Firewall: We’ve done it all without opening a single port on our router, eliminating one of the single greatest security risks for any homelab.
- Global Accessibility: We can securely access our tools from anywhere in the world, just like a professional enterprise service.
Looking Back: Our 5-Part Journey
It’s amazing to see how far we’ve come. In this series, we started with nothing but a powered-off machine and an idea.
- In Part 1, we built our server from the ground up with a minimal Debian install utilizing our old laptop.
- In Part 2, we hardened its security with SSH keys, UFW, and Fail2Ban.
- In Part 3, we unleashed its potential with Docker and deployed our first service, AdGuard Home.
- In Part 4, we solved internal networking with a local DNS server for clean, “at-home” SSL.
- And finally, in Part 5, we’ve secured it for the entire world with Cloudflare Tunnels.
We have successfully built a stable, secure, and powerful foundation. This server is no longer just a project; it’s a platform ready to host any idea we can dream up.
What’s Next?
Thank you so much for following along on this journey. I hope this guide has been valuable and has empowered you to build your own private corner of the internet.
For now, this concludes our setup series. We’ve built the “house” and secured it. The next logical step, and the subject for a whole new series, is to learn how to manage it. What if we want to deploy 10 services? What if this server fails and we need to rebuild it in minutes, not hours?
Our foundation is set. The next adventure will be in the world of automation and orchestration, using powerful tools like Ansible (Infrastructure as Code) to automate our setup and Kubernetes (K3s) to manage our containerized applications at scale.
Stay tuned, and happy building!